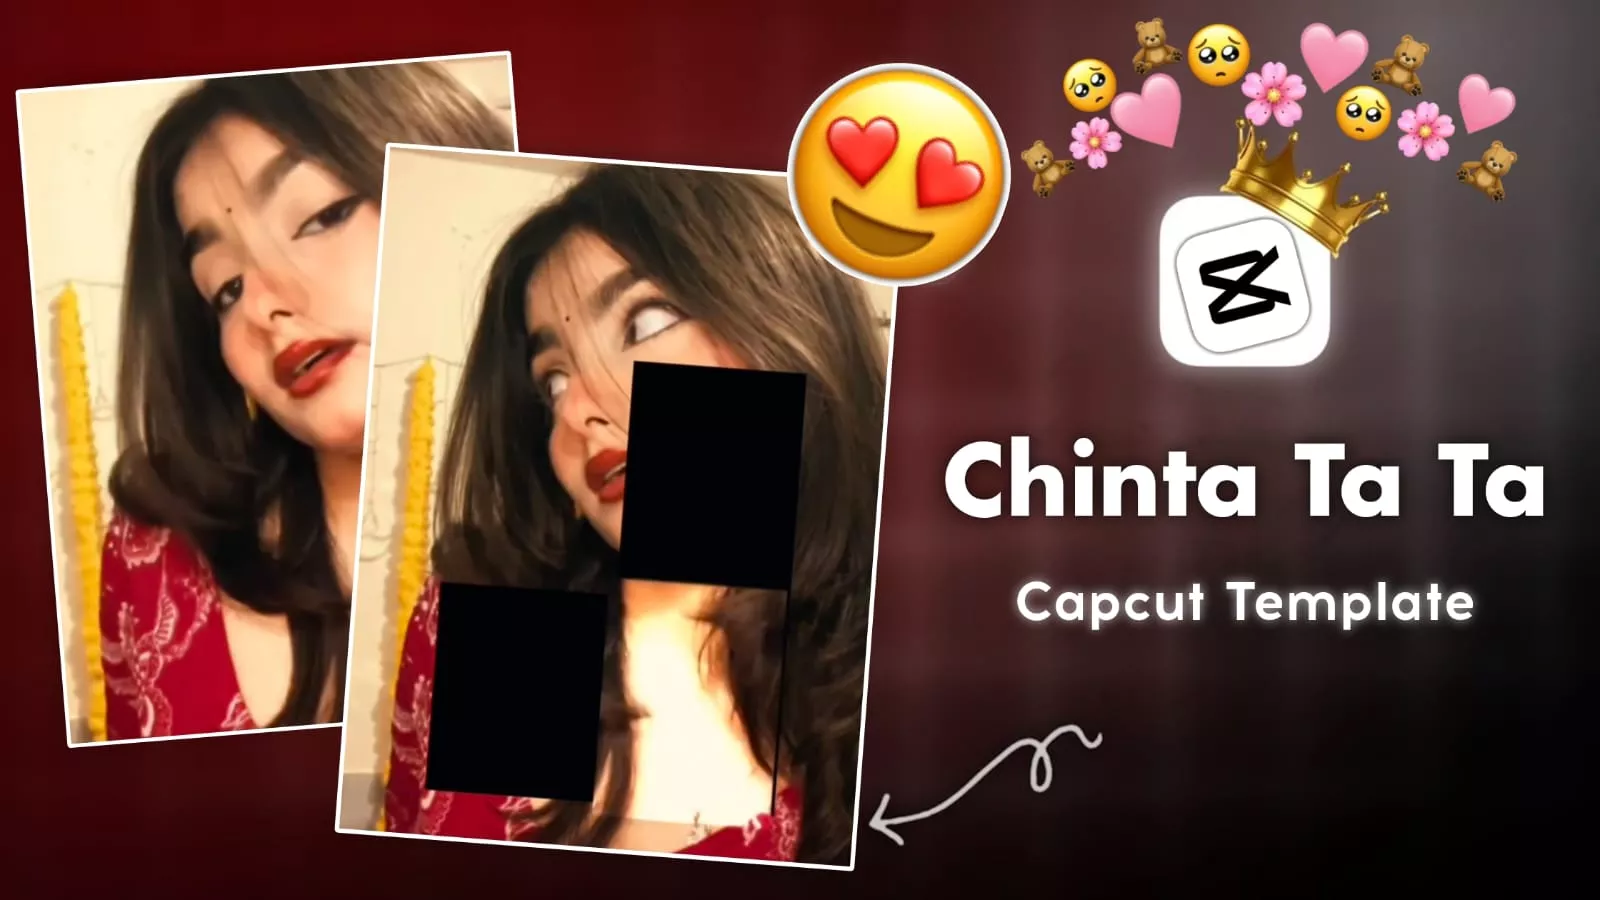
Chinta Ta Ta Chita Chita CapCut Template – Look, we are going to teach you how to make your video viral by taking advantage of a viral trend on Instagram. I am saying this because a lot of dance videos are being created on this trend on Instagram and everyone’s videos are going viral. Whoever creates such dance videos. I will tell you that you do not know this dance video. How can you make your video in a different way, in some unique style. I will explain it to you step by step. You just follow and create it, because this edit is very good and even a few steps. If you miss them then you will not understand anything in editing.
Template Details :-
Look at what you’re going to add to your editing. It’s crucial to understand how the editing will be done. If you don’t have that knowledge, what will you say if someone asks? You’ll have to say you edited using a template. But to avoid all of this, let me explain what you’ll get in editing. You get a part-assemble effect. What it does is: Initially, you’re shown a photo. That photo is divided into different parts. Then it’s assembled. As it’s assembled, a cut-out effect appears in your video. With that cut-out effect, small clips of your video begin to appear. This is what the cut-out effect and the part-assemble effect do. It makes your video unique.
Is it okay to use a template?
In today’s trending world, everyone uses templates. Every editor teaches you how to edit using these templates. You might have noticed that many people, to save time, use whatever editing method is trending. Is it bad to use them? No, it’s not bad at all. Watch me explain. If you want to edit according to trends, you should definitely use templates.
But if you want to create something unique, try something different from your own, because you can’t rely on templates to determine how long a particular trade will last, or what templates you’ll find. In such a situation, you won’t be able to learn editing properly. You can go viral by editing according to trends, but you won’t have the necessary knowledge. Therefore, I recommend that you edit your own videos using this template, and the details I share here, you can take ideas from them regarding effects and editing and then do whatever you want.

How To Use Chinta Ta Ta Chita Chita CapCut Template
Now it’s time to use it to create our own video. So, what do we have? We have a video clip. For example, let’s say we have a 10-second video clip. We have five video clips of two seconds each. We can use both. For example, you need to add five separate clips here. You can add them all separately. But if you have one clip, you need to add them all at once and then change their duration. For example, when the video plays, if the first video ends at two seconds, the second clip should start at two seconds. You need to change it this way. I’ll explain how. First, click the “Check Template” button, which will take you to CapCut. There, you need to select the video, and the whole process will take place there. You just need to click on the template and select the video. As I mentioned, if you select Single, click Next, then go to the Crop option and adjust the duration. Then, check your review. Your video is ready to go. Those with single clips already know that you simply add clips one at a time. Your editing will be ready.
How can we fit our photo or video into a template?
The square size and the template we created show the full size of a reel video, which is a 9:16 aspect ratio. Now, how do we do that? It’s quite simple. You can either crop your video or photo first. Use any video editing application for this. When you add a clip to CapCut, it automatically crops and your video is automatically set. However, if you want to make adjustments to your preferences, such as which clip should be placed where, you’ll need to use another editing application or select a part of CapCut. Go to the “Crop” option. From there, you can crop your video. You can also adjust it by applying a free frame or splitting the clip.