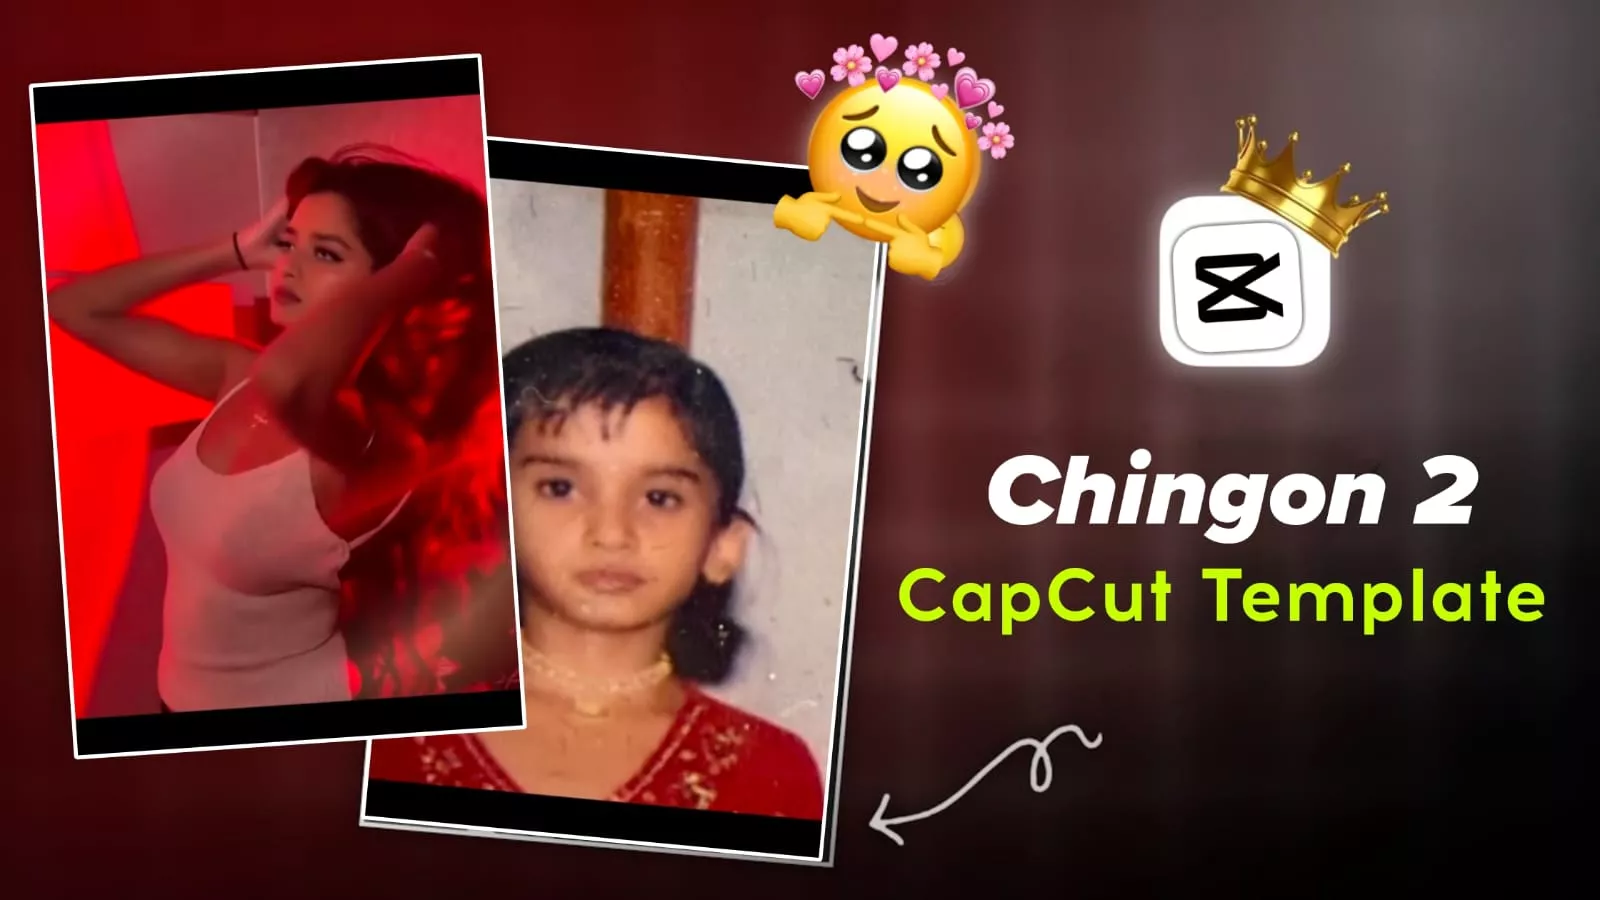
Chingon 2 Capcut Template – If you always want to make videos on new trends on Instagram, then this is a very good habit, but in today’s time, creating videos on such trends has become a little difficult. For those who do not know, but for those who know the right method, it is the easiest way. In today’s time, creating videos in editing, you can create a professional video using templates, which people like very much. To do this editing, you do not need to follow many different methods. You are provided with a Capcut template. In this, you just have to set the clip and the video gets ready automatically. Let’s talk about this. Which template is it and how to use it?
Full Breakdown Of This Editing
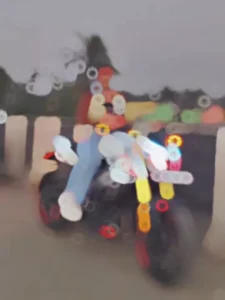
What will this editing feature be, what will you see, and what effects will be there? I’ll tell you about all of that. We always create unique editing techniques, and we’ll bring them to you as well. Initially, you’ll see a cross effect. This effect is animated, and a blur effect will be applied over it. This blur effect is kept for a few seconds because it creates suspense in our videos. People want to watch these kinds of videos, waiting for what’s going to be revealed next. After that, you’ll see another effect above the blood in the middle, called the flashing yard effect. After that, you’ll see this effect fade away. Then, your video will appear in smooth slow motion, with this vibration flash effect appearing in just one or two places. What happens is that the check effect will appear once in your video, and a light will appear there. The slow motion effect has been used perfectly throughout this video. Your video works perfectly smoothly.
How To Use Chingon 2 Capcut Template
Now, what do you need to do to make a video like this? To make a video, we first need a video and the type of video it will be. Understand that. Then I’ll show you how to use it. Normally, you’re sitting on a bike. This video is similar. You just sit there smiling, reacting, or create a nice video with a walking style. Many people like it. Use only that. To create a video, you must have the Capcut application. Without it, you can’t do this kind of editing. Once you have the application, open it. Then, we’ve provided a button called “Check Template” here in the article. Click on it. Capcut opens. You’ll see the template there. You’ll see the type of editing. You’ll find all that in the video itself. Click on it below and add your video clip. Click on Next to preview your video. If the editing looks perfect, export it and you’re done.

Comparison Of This Editing
Let me explain with a comparison. Normal editing versus template editing. We had to manually do everything, like transition effects or any other editing. In template editing, all of this is automatic. Now, here’s your normal editing. When we did it manually, everything was limited. We did it in a completely unprofessional way. But here, it’s created in a completely professional manner. The most important thing is that it takes much less time, whereas with normal editing, it would easily take us an hour. This normal editing wasn’t exactly beginner-friendly. It required an expert to create that kind of editing. Whereas here, with template editing, even if you’re a complete beginner, you can easily do this kind of editing.
What you have to pay most attention to is its export settings.
You should keep 1080p into 1920p in export. After that you should keep 60-30fps in FC and after that you have to keep the format as MP4. This is perfect for all places. You can upload it anywhere. Keep the quality high and the aspect ratio as 9:16, this is absolutely perfect for rail. If you are using this template then you must adjust everything except aspect ratio and if you are doing custom editing then you have to keep all these things in mind.